Editing
- Apr 18, 2025
- 3 min read
When my teacher announced the deadline for the portfolio and film opening. I had only photographed three out of six eyes I needed, and I had no idea how I was going to pull off the transition I had in mind. I spent hours and days, searching for tutorials or examples of something similar. I even asked AI for help, but surprisingly, nothing was useful.
I tried working in Fusion, which turned out to be way more complicated than I expected. Eventually, I reached out to a close friend who's currently studying at one of the top film universities in Paris. We spent an hour discussing my project, and she patiently walked me through a step-by-step method using Colour page in DaVinci Resolve. She even created a sample for me, but to replicate it exactly, I'd need to by Procreate. I didn't want to invest in an app I knew I wouldn't use often, so that put me back to square one.
The next day, I gave it another shot. I kept searching until I found a few YouTube tutorials that weren't an exact match, but it gave me just enough to work with. Thankfully, AI cam through this time, it helped me adapt what I had learned about Fusion and nodes into a detailed tutorial, tailored to my vision. In the end, it turned out to be much simpler than I had imagined, which was a huge relief.
Below is a voiceover of how to achieve my specific transition which can be applied to all sorts of objects and shapes.
This is the written version:
This is a tutorial on how I created my kaleidoscope eye transition using DaVinci Resolve.
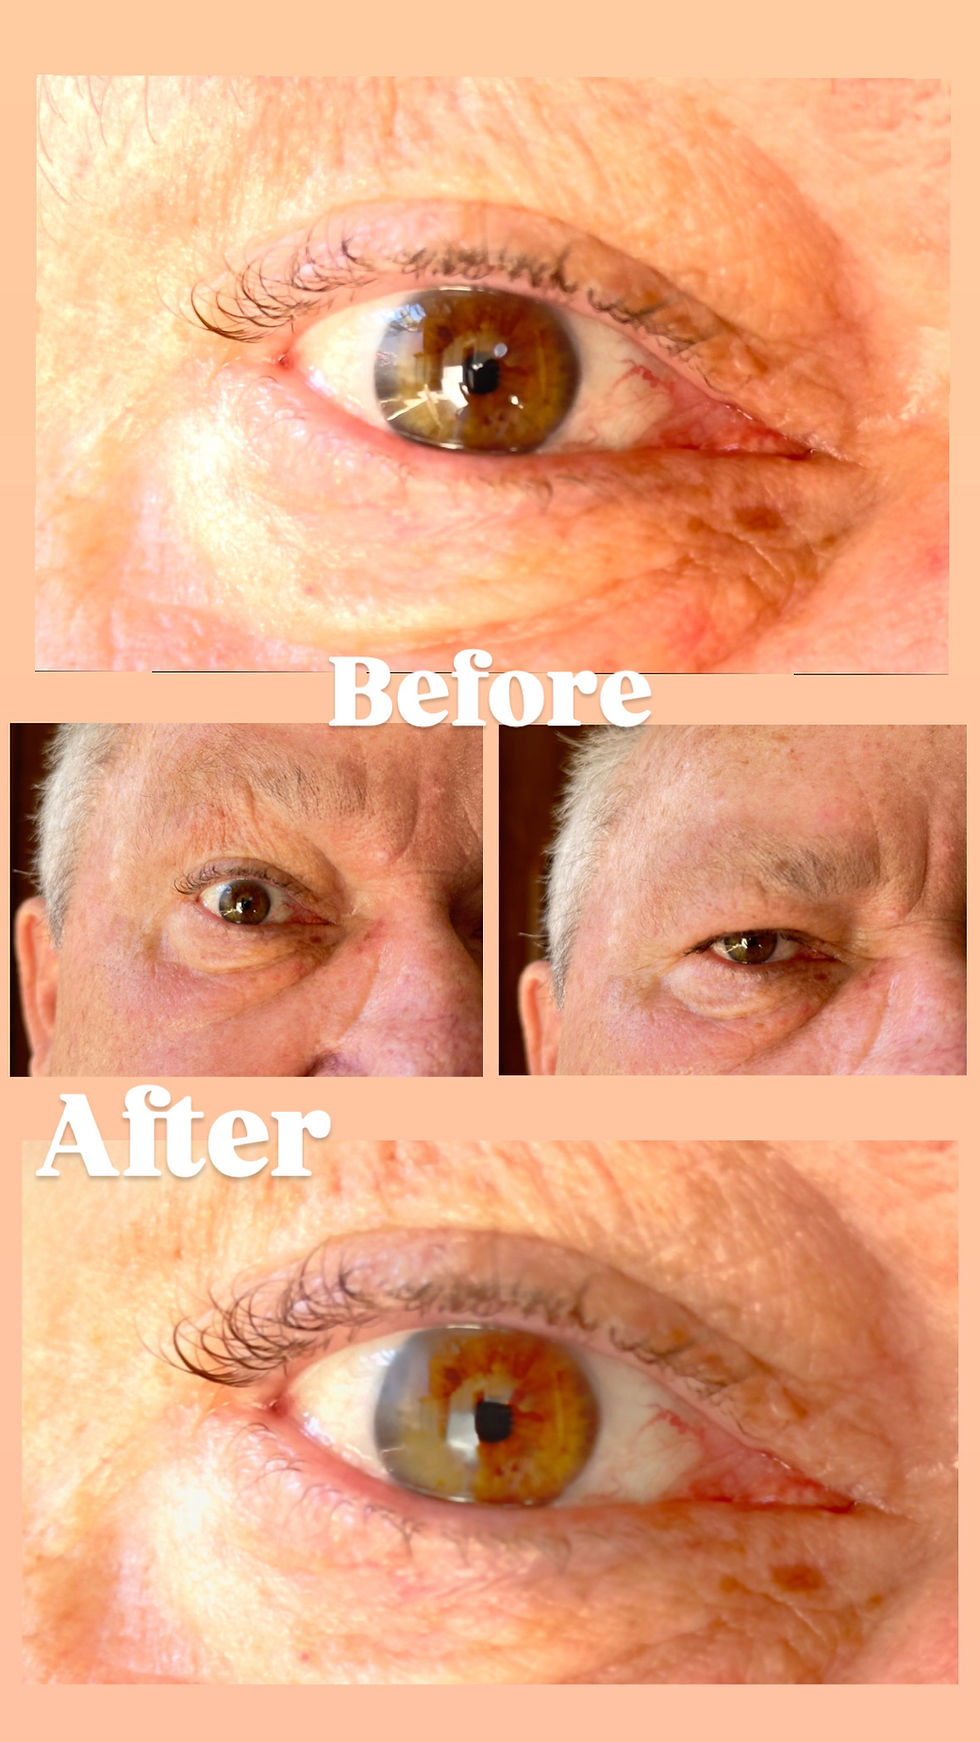
I first uploaded my eye image and placed it on Track 1. Then, I added the kaleidoscope image on Track 2, but only after 3 seconds. This delay allows the transition to happen gradually, adding more visual impact.
Next, I entered the Fusion page to edit the kaleidoscope. I needed it to fit perfectly within the iris, so I used an Ellipse node to sculpt the kaleidoscope into the right shape. After creating the perfect shape, I used the Soft Edge option in the Inspector tab to give it a gentler texture, making it look more realistic, as if the kaleidoscope naturally belongs in the eye.
However, at this point, the pupil was hidden beneath the kaleidoscope. To fix this, I added another Ellipse node, which I named Ellipse2, and connected it to the first one. In the Inspector tab, I went to Paint Mode and selected Subtract. This revealed the pupil underneath. I then shaped Ellipse2 just like the first one to make the blend look clean and precise.
Once I finished shaping the kaleidoscope in Fusion, I went back to the Edit page. I added a Cross Dissolve transition from the Effects tab onto Track 2 (the kaleidoscope layer) to blend it with the eye image.
To bring the effect to life, I also enabled Dynamic Zoom on both tracks. This created a smooth, slow zoom-in effect. I set mine to 1.1x, but that’s totally optional depending on how dramatic you want the effect to feel. Just make sure the zoom is set to go inward, not outward.
And that’s it you’ve mastered the kaleidoscope eye technique I used!


Comments